

Upscale Bar Setup Workflow: Your 2026 Home Guide
An upscale bar setup workflow is the systematic process of arranging, preparing, and operating a luxury home bar to maximize efficiency, drink presentation, and guest interaction. Professional bartenders call this a bar service standard operating procedure, or bar SOP. Whether you are hosting an intimate dinner or a cocktail reception, the quality of your workflow determines the quality of your guests’ experience. The right process turns a beautiful bar into a functional one. Thegildedcup curates the tools and glassware that make that process work.
What does an upscale bar setup workflow actually require?
A high-end bar preparation starts with the right materials, not just the right aesthetic. Before you touch a shaker, you need to confirm that your space, tools, and supplies are all in place.
The core materials checklist
Your spirits and mixers form the foundation. Stock a selection of premium base spirits, fresh citrus juices, house-made syrups, and quality bitters. Fresh ingredients separate a luxury bar from a basic one.
Bar tools are few but critical. Four core tools cover 95% of cocktail needs: a Boston shaker, a Hawthorne strainer, a fine-mesh strainer, and a precise jigger. Resist buying every gadget on the market. Overbuying tools clutters your workspace and slows you down.
Glassware deserves the same attention as spirits. Match each glass to its drink: a wide-mouthed coupe for a Daiquiri, a tall Collins glass for a Highball, a heavy-bottomed rocks glass for an Old Fashioned. Thegildedcup’s must-have bar glasses guide walks through the exact pairings worth knowing.
Space and infrastructure planning
Your workspace design matters as much as your tool selection. A dedicated working surface is non-negotiable. Without one, you end up mixing drinks with your back to guests, which breaks the social connection that makes home entertaining worthwhile.
Plan your electrical and plumbing needs before installation. Dedicated circuits for ice makers or espresso machines prevent failures mid-event. A custom luxury home bar typically takes 3–6 weeks for standard installations and 8–12 weeks for complex build-outs. Budget that time into your planning calendar.
Ice supply is one of the most underestimated prerequisites. For cocktail-heavy events, plan for 1.5–2 kg of ice per guest. Running out of ice mid-party is the fastest way to degrade your service.
Pro Tip: Set up your bar layout before buying any additional tools. Walk through the motions of making three different drinks and note every time you have to turn away from your guests or reach past something. Those friction points are your redesign priorities.
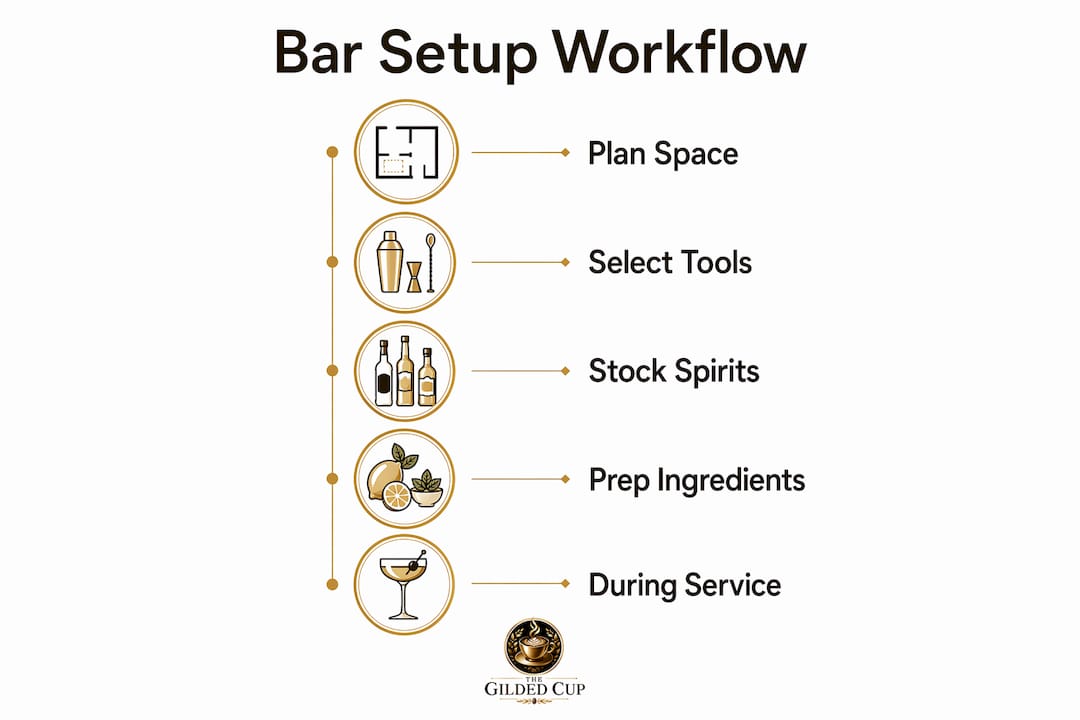
How do you execute a step-by-step luxury bar setup process?
A structured sequence separates a polished bar from a chaotic one. Hotel bar SOPs provide the clearest benchmark: order acknowledgment is immediate, drink preparation takes 3–6 minutes, and dispatch happens within 1 minute of completion. Apply those same standards at home.
The pre-service sequence
- Pre-service inspection. Check all equipment before guests arrive. Confirm the ice maker is running, the refrigerator is at temperature, and all tools are clean and in position.
- Stock verification. Pull every bottle you plan to use and arrange it in order of frequency. High-use spirits go front and center. Backup bottles go behind or below.
- Glassware polishing. Polish each glass with a lint-free cloth before setting it out. Fingerprints and water spots undermine the visual quality of every drink you serve.
- Garnish preparation. Cut citrus wheels, twists, and any other garnishes before service begins. Store them in labeled prep containers at eye level so you can grab without looking.
- Ice station setup. Fill your ice bin last, right before guests arrive. Ice degrades quickly in a warm room. Keep a backup supply in a sealed cooler nearby.
- Station organization using the Two-Step Rule. All high-use items should sit within one to two steps of your primary mixing position. This rule reduces physical fatigue and keeps you facing your guests during preparation.
During service
Acknowledge every drink request immediately, even if you are mid-preparation on another order. A nod or a quick “I’ll have that right up” maintains engagement. Aim to complete each drink within the 3–6 minute window. Dispatch it within 1 minute of completion. Drinks that sit lose temperature and visual appeal fast.
Pro Tip: Batch your most popular cocktail of the evening before guests arrive. Pre-batch a pitcher of Negroni or Margarita mix, then pour and garnish to order. You cut prep time by more than half without sacrificing quality.
Separate your prep zone from your serve zone physically. Keep the shaker, strainer, and jigger on one side of your surface. Keep finished drinks and garnishes on the other. This separation prevents cross-contamination and keeps your presentation area clean throughout the evening.
How does glassware and lighting shape the guest experience?
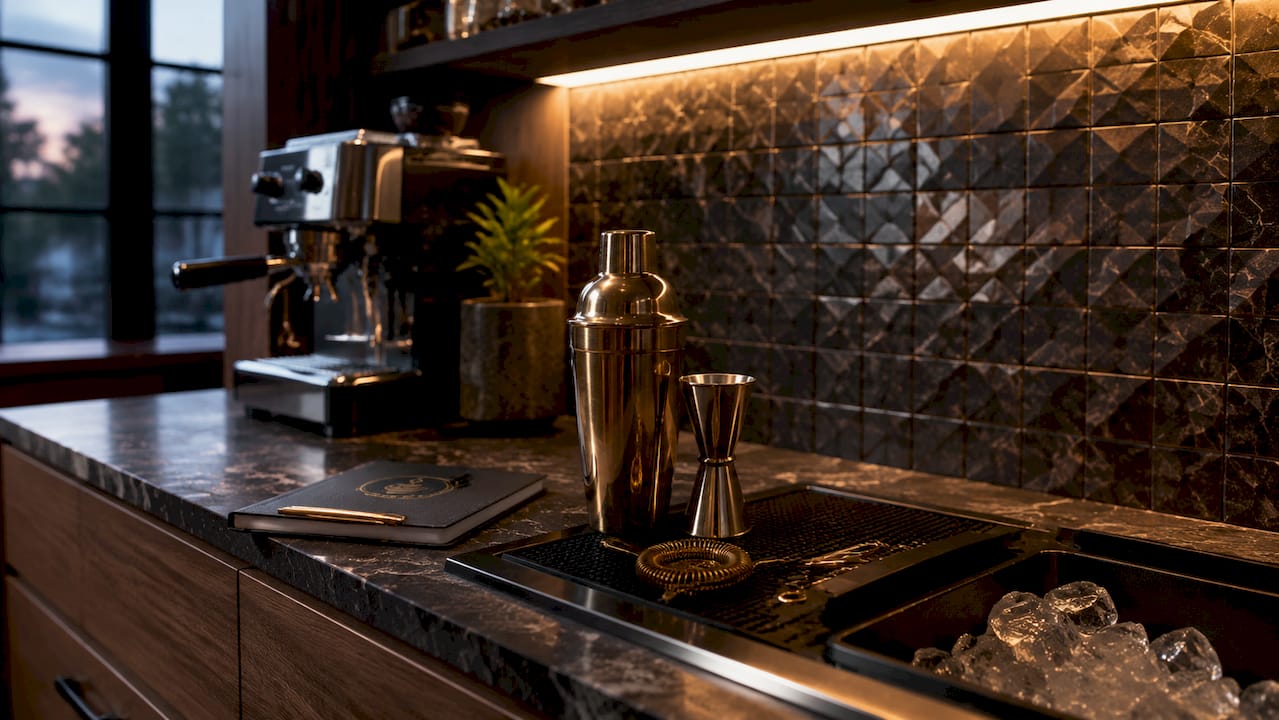
The bar as a still life is one of the most useful concepts in upscale home entertaining. A curated, intentional space invites guests to pause and savor rather than scan for what they need. Clutter is the enemy of that effect.
Glassware as a presentation tool
Glassware selection is a direct signal of quality. A Martini served in a thin-walled crystal coupe reads as luxury. The same drink in a thick-walled generic glass reads as ordinary. Thegildedcup’s cocktail presentation guide covers the specific glass-to-drink pairings that make the biggest visual difference.
Garnishes extend that signal. A properly expressed lemon twist, a fresh herb sprig, or a single large ice cube adds sensory dimension beyond taste. Prepare garnishes in advance and store them at the front of your prep zone for fast, consistent placement.
“An upscale home bar should be a still life. A curated, intentional space that invites guests to pause and savor, emphasizing social connection over clutter.”
Lighting as a functional layer
Three-layer lighting is the standard for upscale bar design: task lighting for measuring and cutting, display lighting to showcase your spirits collection, and ambient lighting to integrate the bar into the room’s atmosphere. Most home bars use only one layer, usually overhead, which flattens the visual effect and makes prep harder. Adding a small LED strip under your upper shelves costs very little and transforms the display immediately.
A luxury scented candle from a brand like Wick and Glow placed near the bar adds an olfactory layer that guests notice without knowing why. Scent primes the mood before the first drink is poured.
Pro Tip: Dim your ambient lighting by about 30% when guests arrive. Brighter task lighting at the bar surface keeps your prep accurate while the softer room light signals that the evening has shifted into a social mode.
What are the most common upscale home bar workflow mistakes?
Most workflow failures come from planning gaps, not execution errors. Knowing the pitfalls in advance lets you design around them.
- No dedicated prep surface. A bar without a working surface forces you to mix drinks away from guests. That physical separation breaks the engagement that makes home bartending enjoyable for everyone.
- Overbuying tools. A cluttered tool drawer slows you down. Stick to the four core tools and add only when a specific drink demands it.
- Skipping electrical planning. A tripped circuit during a party is not recoverable. Plan dedicated power for any appliance that draws significant load, including ice makers, blenders, and espresso machines.
- Underestimating ice. At 1.5–2 kg per guest for cocktail events, most hosts buy half of what they need. Ice is the one supply you cannot improvise.
- Cluttered display. A bar crowded with bottles, tools, and decorations reads as disorganized. Edit your display to the bottles you are actually serving that evening. Store the rest.
- No event-size adaptation. A workflow for four guests does not scale to twenty without adjustment. For larger groups, pre-batch two or three signature cocktails and assign a second person to handle ice and garnish replenishment.
Pro Tip: Run a full dress rehearsal the evening before a party. Make five different drinks in sequence and time yourself. You will find at least two things to reposition before guests arrive.
Key takeaways
A well-executed upscale bar setup workflow combines professional service benchmarks, intentional space design, and quality tools to deliver a consistently polished guest experience.
| Point | Details |
|---|---|
| Four tools cover most needs | A Boston shaker, Hawthorne strainer, fine-mesh strainer, and jigger handle 95% of cocktails. |
| Ice supply is critical | Plan for 1.5–2 kg of ice per guest at cocktail-heavy events to avoid running short. |
| Two-Step Rule improves service | Keep all high-use items within one to two steps to reduce movement and maintain guest engagement. |
| Lighting works in three layers | Task, display, and ambient lighting each serve a distinct function in an upscale bar setup. |
| Pre-batch for larger events | Batching signature cocktails before guests arrive cuts prep time and maintains drink quality at scale. |
Why I think most home bar advice misses the point
Most guides focus on what to buy. The real question is how you move. I have seen beautifully stocked bars that produced a frustrating experience because the host spent half the evening with their back to the room. And I have seen modest setups that felt genuinely luxurious because the host had thought through every step.
The Two-Step Rule changed how I think about bar layout entirely. Once you accept that your physical position during prep is a social act, not just a logistical one, every decision about where to place a tool or a bottle becomes clearer. You are not just organizing a workspace. You are designing a performance.
The other thing most advice skips is the rehearsal. Hotel bar staff train their SOPs before service. Home hosts almost never do. One run-through the night before a party reveals more than any checklist. You will discover that your jigger is on the wrong side, that your garnish container is too far back, or that your ice bin is too small for the evening you planned.
Luxury is not about the price of your bottles. It is about the confidence of your execution. That confidence comes from practice, not from spending more.
— Sharbel
Thegildedcup: the right tools for a refined workflow
The workflow is only as good as the tools behind it. Thegildedcup curates luxury glassware, fine drinkware, and bar accessories selected for both visual impact and practical performance.

Every piece in the Thegildedcup collection is chosen to hold up under real use while looking exceptional on display. From hand-blown crystal coupes to weighted rocks glasses, the right glass makes every drink you serve feel intentional. Browse the full luxury barware collection to find the pieces that complete your setup. For a structured starting point, the upscale bar setup checklist covers exactly what to prioritize before your next event.
FAQ
What is an upscale bar setup workflow?
An upscale bar setup workflow is the structured sequence of preparation, organization, and service steps used to run a luxury home bar efficiently. It covers everything from pre-service inspection and glassware polishing to drink timing and guest engagement.
How long does it take to set up a luxury home bar?
Standard custom installations take 3–6 weeks, while complex build-outs run 8–12 weeks. Day-of service prep for an event typically takes 45–90 minutes depending on event size and menu complexity.
What bar tools do I actually need for an upscale home bar?
Four tools cover nearly every cocktail: a Boston shaker, a Hawthorne strainer, a fine-mesh strainer, and a precise jigger. Adding more tools beyond those four rarely improves drink quality and often clutters your workspace.
How much ice do I need for a cocktail party?
Plan for 1.5–2 kg of ice per guest at cocktail-heavy events. Most hosts underestimate this significantly. Keep a sealed backup cooler stocked and out of sight for replenishment during service.
How do I keep guests engaged while making drinks?
Apply the Two-Step Rule by keeping all high-use tools and ingredients within one to two steps of your primary position. This lets you face guests during most of the preparation process rather than turning away to retrieve items.